Auto-translated from Spanish
If you’ve made it here, you’re probably looking to get started in the world of SEO with one of the most basic yet important topics and optimizations for improving your website organically. So let me introduce you to the Sitemap file, or simply, the Sitemap.

What Is a Sitemap?
A sitemap is a file that lets Google crawl the most important URLs or pages on your website more easily and quickly. As I mentioned before, this file is one of the first technical optimizations typically done at the start of any website audit.
Benefits of a Sitemap
A sitemap is one of the first things you should consider implementing on your website. Why? Basically, implementing one gives your content a better chance of showing up on Google. Think of it this way: it makes things easier for Google, since it knows all of your website’s relevant URLs are gathered in a single file — which means it will give a lot of weight to those URLs.
Better Crawling
With a sitemap, Google can more easily access the content on your website that matters most to you.
Better Exposure
The more your content shows up on Google, the more visibility you’ll get, which increases the odds that users will visit your website.
Better Results
The more users that reach your website, the better your chances of turning them into loyal, recurring customers or readers.
What Is a Sitemap For in SEO?
As we’ve already seen in this quick tour of the sitemap world, this file helps improve your website’s crawlability and indexing. Think about it this way: by giving Google all of our important URLs in a single file (the sitemap), it becomes much easier for it to navigate and analyze the whole of our site.
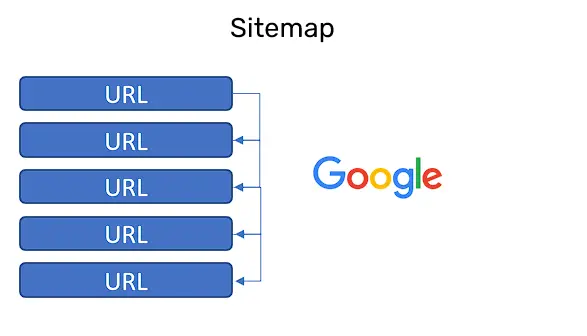
In SEO, it’s crucial that Google can crawl and index the content of our URLs so they show up in the search results — otherwise, what’s the point of doing more optimizations? That’s why optimizing or creating the sitemap is one of the main actions we take when auditing a new website.
Types of Sitemaps
There are many types of sitemaps, but which one should you choose? Let me give you a quick rundown of the types of sitemaps you can generally find, so you can see which one fits your type of website best.
-
General
The “normal” sitemap is the one your website should have, and it contains the main URLs and content you want crawled and shown on Google.
-
News
A type of sitemap focused mainly on surfacing news URLs. Have you noticed that when you search Google for a trending news story relevant to your country, it shows up instantly in the results? That happens thanks to this type of sitemap, built specifically for newspaper/news websites.
-
Images
If you feel your website has a lot of images and that they’re genuinely relevant, I’d recommend building a sitemap of this type, which — as the name suggests — contains image URLs.
-
Videos
This type of sitemap behaves similarly to the image sitemap, in the sense that you include the URLs of your website’s most relevant videos, if you consider them important.
What Does a Sitemap File Look Like?
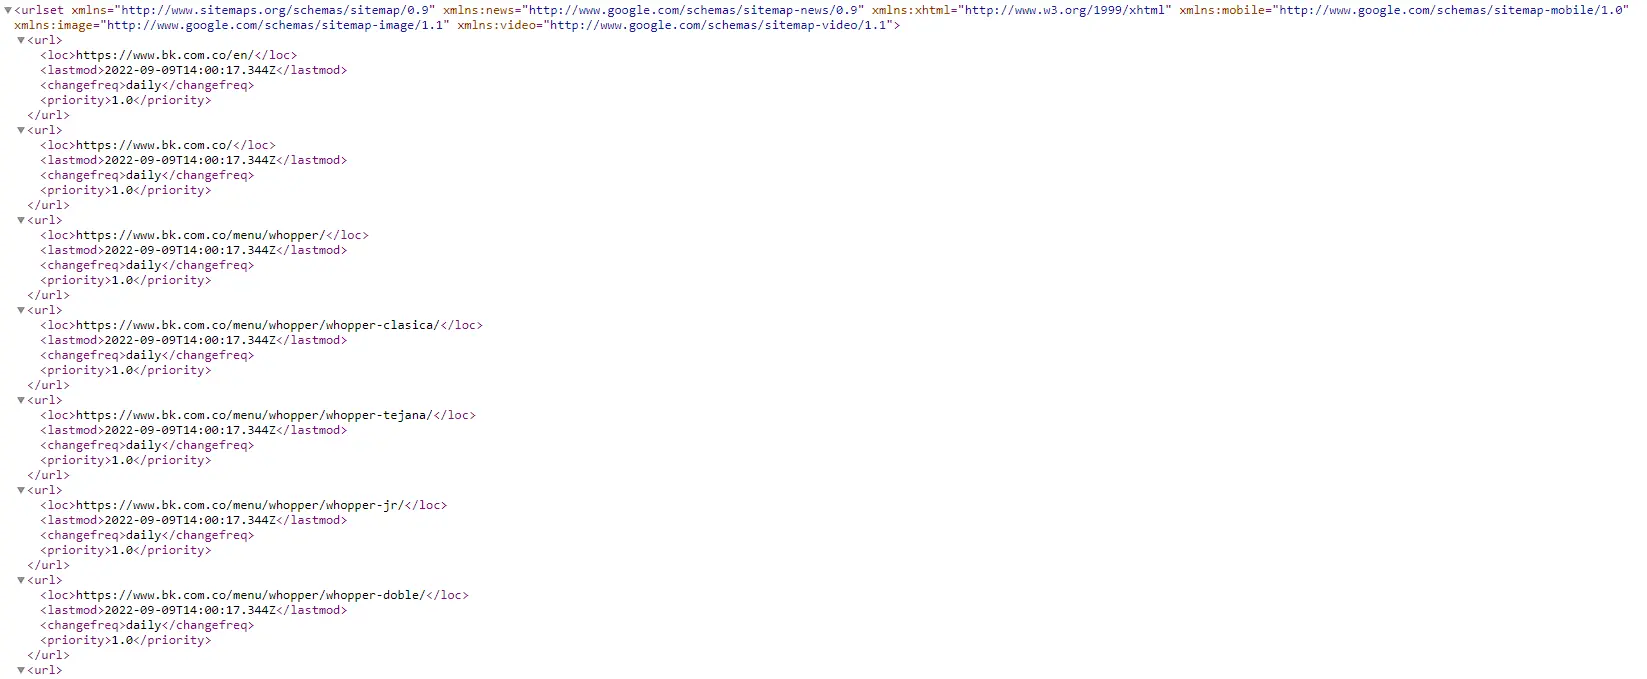
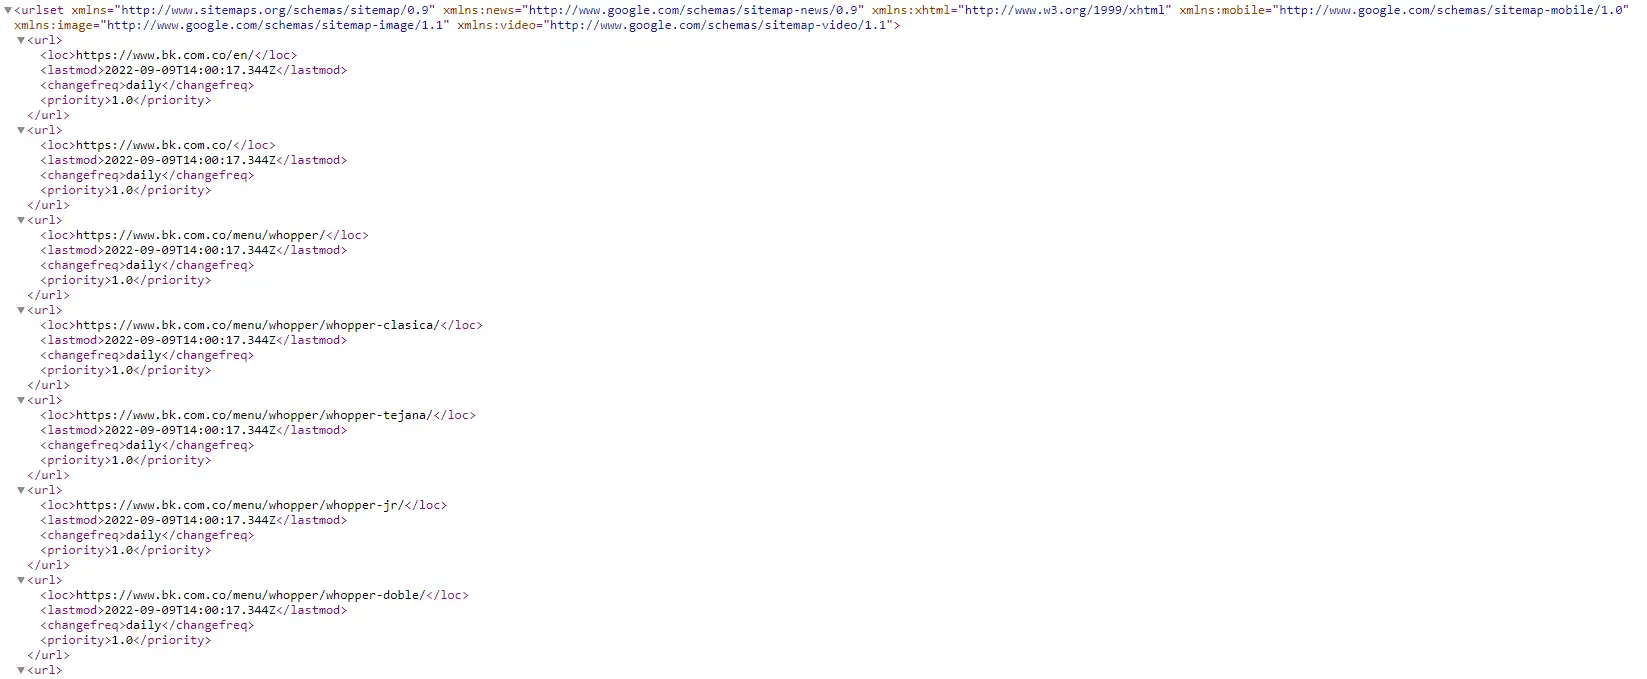
As you can see above, there’s a small example of what a sitemap would look like. It might seem hard to understand at first, but don’t worry — the important thing is understanding the basics: it uses an XML format with a special structure so Googlebot can better understand the file.
Parts of a Sitemap
If you look closely at the image, you’ll see different blocks that each correspond to an individual URL. The
- URLSET: this part of the sitemap indicates that the file is indeed a sitemap file and should be read as such. It can also be used to mark different types of sitemaps, which we’ll look at later.
- LOC: this tag holds the specific URL you want prioritized for crawling. In this case, if you look at the example, you’ll see the homepage, category pages, and product pages.
- LASTMOD: short for “last modified.” Keep in mind that this field should hold the date that specific URL was last modified — not the whole sitemap — that’s the recommended approach.
- CHANGEFREQ: here we tell Google how often we recommend it crawl this URL — daily, weekly, or monthly. Google currently doesn’t take this into account, so you could skip including it in your sitemap.
- PRIORITY: as the name suggests, this tells Googlebot the priority a URL should have, ranging from 0.1 to 1.0, with 1.0 being the most important and 0.1 the least. Google doesn’t take this attribute into account either, so you can ignore it.
How Do I Find a Sitemap?
There’s a way to check the vast majority of URLs for any domain, which will give you a sense of how this file is typically applied — you can even identify relevant URLs from your competitors and take a deeper look at them.
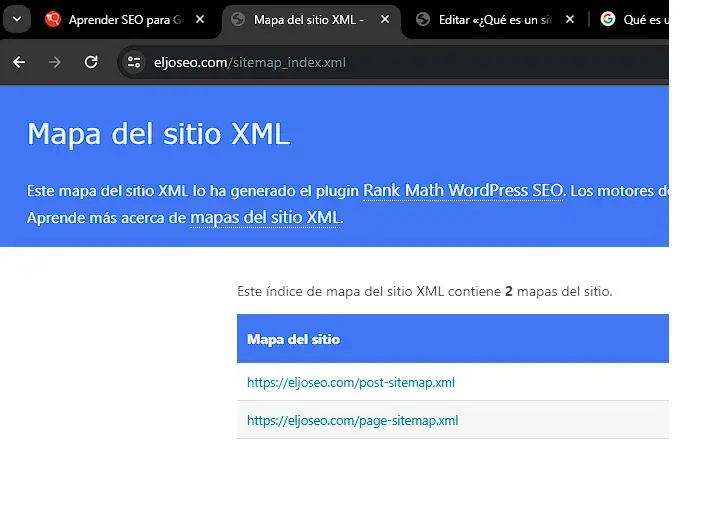
- Find the domain whose sitemap you want to check. For this example, I’ll use El Joseo’s: https://eljoseoweb.com/.
- Go to the website and, right after the main domain, add the following text exactly as written: sitemap.xml. Generally, it should end up looking something like this: https://eljoseoweb.com/sitemap.xml.
- If you did everything correctly, you’ll get the sitemap for the domain you selected.
How to Create a Sitemap
I’m going to give you three options so you can build your sitemap quickly and easily. Keep in mind all three options are solid — it’s up to you which one you apply.
Plugins
There’s always a simple way to do things, and in this case, to make sure your sitemap works properly, I’d recommend using tools that are already tried and tested for this kind of thing. If you’re on WordPress, I recommend using free plugins like Rank Math or Yoast SEO to build this sitemap. It’s easy to set up and updates automatically as you create new content.
Sitemap Generators
Since we’re talking about Google and showing up on it, for this step I’d recommend doing a quick search for “sitemap generators” — you’ll find plenty of them. I don’t have one in particular to recommend, but what I will tell you is to look for the simplest one. They’ll ask you for your domain, update date, and a few other easy details to generate it.
HTML Sitemap
This is one of the simplest ways to build an initial sitemap: just create a new URL and add simple links to your site’s most relevant URLs. For example, if you run a clothing store, add links to Men, Women, Clothing, Sportswear, and so on — it really depends on your site. Just remember to include the most important URLs here, the ones you’d like Google to give more weight to.
Sitemap in Google Search Console
Once you have this file, it’s really important to submit it to Google Search Console. This tool lets you check whether everything is set up correctly, spot any errors, and find opportunities for improvement:
How to Submit Your Sitemap to Google Search Console
When you log into Google Search Console, you’ll see the Sitemaps tab on the left side. Click on it, then fill in the URL with the location of your sitemap. In my case, it’s /sitemap_index.
How Do I Check for Sitemap Issues?
If you completed the previous step correctly, you’ll be able to see how many URLs are being detected within this sitemap, along with any errors and suggestions for fixing them.
Checking Whether a URL Is Included in the Sitemap
If you have a lot of URLs in your sitemap and want to find a specific one, you can use the URL Inspection tool. Once it finishes analyzing, in the page indexing section you’ll be able to see whether that URL is included in the sitemap.